Slideshows allow us to recall events from our lives, highlight our successes or present a story in a visual format. You can use your TV to turn ordinary things like family and work photos into something entertaining. Thanks to today’s smart TVs, anyone can put together a perfect slideshow without much technical skill. We look at easy ways to display slideshows on your TV through this blog.
Why use your television for slideshows

Here are a few reasons why TVs make an ideal medium for displaying slideshows:
- Larger screen size: Showcase your visuals on a big screen for a more immersive viewing experience. This is perfect for gatherings, family events, or work presentations.
- High-quality display: Modern TVs offer exceptional resolution, including 4K and HDR, ensuring your images look crisp, vibrant, and professional.
- Convenience and accessibility: With smart features and wireless options, most TVs are now easier than ever to connect directly to your devices.
How to create your slideshow
Before jumping into ways to play your slideshow on your TV, you need to create one. Here’s how to do that quickly and effectively.
Use PowerPoint or Google Slides
PowerPoint and Google Slides are user-friendly tools for creating professional and visually appealing slideshows. Both platforms offer customizable templates, easy-to-use design features, and seamless sharing options, making them ideal for crafting and presenting engaging content for any occasion.
Steps to create a slideshow:
- Open PowerPoint or Google Slides and create a new presentation.
- Insert your photos by clicking Insert > Picture (PowerPoint) or Insert > Image (Google Slides).
- Rearrange the images in your preferred order.
- Add effects like transitions, text, or animations to make your slideshow dynamic.
- Save or export your slideshow. For PowerPoint, save it as a presentation file (.pptx) or export it as a video (.mp4). Google Slides also allows you to download the file as a .pptx or a PDF.
Exporting your slideshow as a video ensures compatibility across more devices like Smart TVs or streaming gadgets.
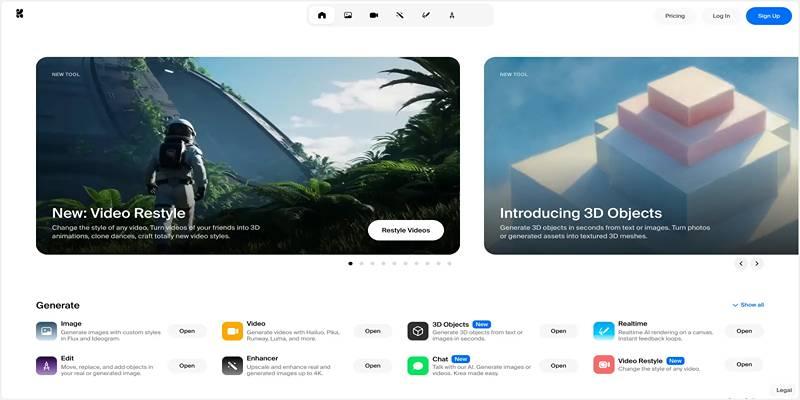
Use free apps and tools
Several free apps and online tools make slideshow creation incredibly easy.
How to Use Canva for Slideshow Creation
- Sign up or log in to Canva.
- Choose a slideshow template from Canva's library.
- Customize the template by adding your images, text, and preferred colors.
- Add transitions and animations to make the slideshow visually appealing.
- Download the finished slideshow in your desired format, such as MP4 or PDF.
How to Use Adobe Express for Slideshow Creation
- Sign up or log in to Adobe Express.
- Start a new project and select the "Slideshow" option from the available templates.
- Upload your images, videos, or graphics to the project.
- Personalize your slideshow by adding text, adjusting fonts, and applying built-in design themes.
- Enhance your slideshow with music, transitions, and animations to add a professional touch.
- Preview your slideshow to ensure everything looks perfect, and then export it in your desired format.
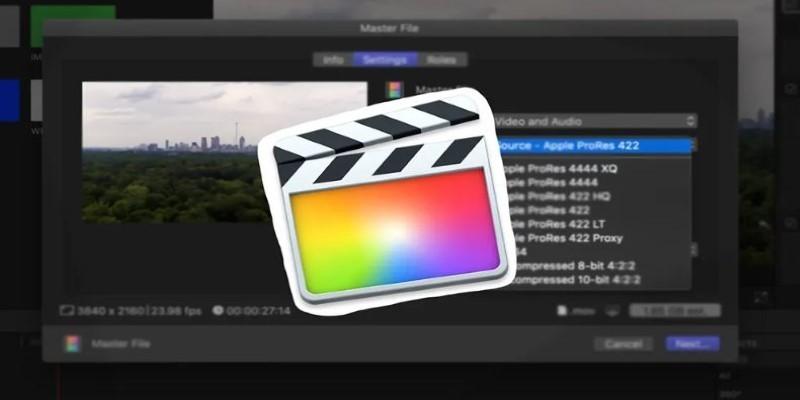
How to Use iMovie
- Open iMovie on your device and create a new project.
- Import your video clips, images, and audio files into the media library.
- Drag and drop the media files onto the timeline to arrange them in your desired sequence.
- Use the editing tools to trim, split, or add effects to your clips.
- Incorporate text, transitions, and soundtracks to enhance your video.
- Review your project to ensure it's polished, then export or share it in your preferred format.
How to Use Google Photos
- Open the Google Photos app or visit the website and sign in with your Google account.
- Upload your photos and videos by selecting them from your device or enabling automatic backup.
- Use the search bar with keywords or filters to locate specific images quickly.
- Organize your media by creating albums or using the automatic grouping features for people, locations, or objects.
- Edit your photos by applying filters, adjusting brightness, or cropping directly within the app.
- Share your images or albums with others through links, email, or social media.
- Access your photos anytime across all devices synced to your account.
How to play your slideshow on your TV
Once your slideshow is ready, playing it on your television is often just a few steps away. Below are several reliable methods depending on your preferences and available equipment.
1. Use a USB drive
Most modern TVs have a USB port, and this is one of the easiest ways to display slideshows.
Steps to use a USB drive:
- Copy your slideshow file (video or image folder) to a USB drive.
- Insert the USB drive into your TV’s USB port.
- Navigate to your TV’s media player, locate your slideshow file, and hit play.
USB playback supports various video and image formats, including MP4, JPEG, and PNG. Just ensure your slideshow file is saved in a compatible format.
2. Connect via HDMI cable
An HDMI cable provides high-quality audio and video from your device to your TV.
Steps to connect using HDMI:
- Plug the HDMI cable into your laptop or desktop.
- Connect the other end to your TV’s HDMI port.
- Switch your TV input to the respective HDMI port.
- Open your slideshow on your laptop, and it will mirror onto your TV.
If you’re using PowerPoint or Google Slides, activate presentation mode for a professional look.
3. Stream wirelessly with Smart TVs
Many modern TVs come equipped with built-in screen mirroring or casting functionality.
A. Cast using Chromecast or Android TVs
- Upload your slideshow video to Google Photos or open it on Google Chrome.
- Click the cast icon to connect to your Chromecast-enabled TV or Android TV.
- Play your slideshow, and it will stream wirelessly to your screen.
B. Use Apple AirPlay for iPhone/iPad/Mac
- Ensure your Apple device and Apple TV are connected to the same network.
- Open your slideshow and select the AirPlay option.
- Choose your Apple TV, and the slideshow will begin playing on your television.
4. Use streaming devices like Roku or Fire Stick
If your TV isn’t “smart,” you can still play slideshows using external streaming devices.
A. For Roku users
- Upload your slideshow file to Google Photos or a cloud service like Dropbox.
- Use the Roku app to access your photos and play the slideshow.
B. For Amazon Fire Stick users
- Use the Amazon Photos app to upload your slideshow video.
- Open the app on your Fire Stick and begin playback.
5. Use a DVD or Blu-ray player
Feeling old-school? Burn your slideshow as a video onto a DVD or Blu-ray disc. Use players compatible with your television to enjoy a nostalgic movie-like experience.
Tips to make your slideshow experience even better

- Add audio: Pair background music with your slideshow to add an extra layer of emotion or energy. Most slideshow tools, like PowerPoint or Google Photos, allow you to insert music files.
- Adjust display settings: Use your TV’s settings to enhance image quality, brightness, and contrast for sharper visuals.
- Optimize pacing: Set proper slide timings to avoid rushing or making viewers wait too long.
Conclusion
Creating and playing slideshows on your TV doesn’t need to be complicated. By choosing the method that suits you best, you can enjoy your visuals on the big screen in no time. Whether you’re showcasing family memories or hosting a professional presentation, modern tools and TVs make it simple to bring your slideshow to life.